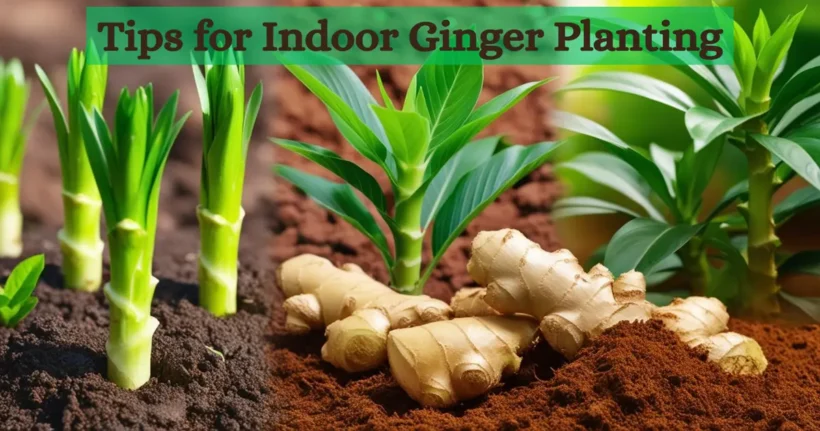
Introduction: The Joy of Ginger Planting Indoors
Ginger planting is an incredibly rewarding and practical endeavor, especially when done indoors. Whether you’re an avid gardener or a beginner with limited outdoor space, growing ginger inside your home offers a convenient way to enjoy fresh, aromatic roots all year long. With the right approach, you can have a continuous harvest of homegrown ginger that enhances your cooking, supports your health, and adds a touch of greenery to your indoor space.
Why Choose Indoor Ginger Planting?
Indoor gardening has gained popularity in recent years, and ginger planting is no exception. Here’s why more people are turning to indoor ginger cultivation:
- Year-Round Harvest: Unlike outdoor ginger planting, where seasonal changes affect growth, indoor planting provides a stable environment for continuous harvests.
- Space Efficiency: If you lack a garden, a simple pot on a sunny windowsill is enough to cultivate ginger.
- Pest Control: Growing ginger indoors protects it from common garden pests and diseases.
- Aromatic & Medicinal Benefits: Ginger is known for its health benefits, including anti-inflammatory properties, digestive support, and immune-boosting effects.
Choosing the Right Ginger Variety
Not all ginger varieties are ideal for indoor cultivation. Opt for these popular choices:
- Zingiber Officinale: The most common edible ginger variety used in culinary and medicinal applications.
- Baby Ginger: A mild-flavored option that matures quickly.
- Ornamental Ginger: Though not edible, this variety adds aesthetic beauty to your indoor garden.
Step-by-Step Guide to Successful Ginger Planting Indoors
1. Selecting the Perfect Ginger Root
To start your indoor ginger planting journey, you need a high-quality ginger rhizome. Look for:
- Firm, plump, and fresh rhizomes
- Eyes or growth buds (small bumps on the root)
- Organic ginger (store-bought ginger is often treated with growth inhibitors)
2. Preparing the Ginger for Planting
Prior to planting, immerse the ginger rhizome in warm water for several hours or overnight to enhance hydration and stimulate sprouting. This removes any growth inhibitors and rehydrates the root, encouraging sprouting.
3. Choosing the Right Pot and Soil
- Pot: Use a wide, shallow container with drainage holes. Ginger plants spread their roots outward rather than burrowing deeply into the soil.
- Soil: Opt for well-draining, nutrient-rich potting soil. A mix containing compost, coconut coir, and perlite is ideal.
4. Planting the Ginger
- Fill the pot with soil, leaving a few inches of space from the rim.
- Place the ginger rhizome horizontally, with buds facing upward.
- Cover it with 1-2 inches of soil.
- Gently water the soil to keep it moist, ensuring it does not become overly saturated.
5. Providing Optimal Growing Conditions
- Light: Ginger thrives in indirect sunlight. Place the pot near a bright window but avoid direct sun exposure.
- Temperature: Keep the temperature between 70-85°F (21-29°C) for optimal growth.
- Humidity: Since ginger is a tropical plant, mist the leaves occasionally to maintain humidity levels.
6. Watering and Fertilization
- Watering: Maintain soil moisture at a steady level, ensuring it remains damp but never oversaturated. Overwatering can cause root rot.
- Fertilization: Use organic fertilizers such as compost tea or diluted liquid seaweed every 3-4 weeks.
Caring for Your Indoor Ginger Plant
Pruning and Maintenance
- Remove any discolored or withered leaves to promote healthier and more vigorous plant growth.
- Remove weeds and check for any signs of disease.
Pest Prevention
While indoor ginger planting minimizes pest issues, watch out for aphids and spider mites. Apply neem oil or a mild insecticidal soap as necessary to manage pests effectively.
Repotting and Rhizome Division
- Every 8-10 months, consider repotting or dividing rhizomes to expand your ginger harvest.
- Gently separate mature ginger roots and replant them in fresh soil for continuous production.
Harvesting Ginger for Year-Round Supply
When to Harvest
- Ginger is typically ready to harvest within 8-10 months.
- If you want baby ginger, you can harvest as early as 4-5 months.
How to Harvest
- Gently dig around the base of the plant and remove a portion of the rhizome.
- Leave some roots in the soil so the plant continues growing.
- Wash and air-dry the ginger before use.
Storing and Using Fresh Ginger
- Fresh Storage: Store in the refrigerator wrapped in a paper towel for up to 3 weeks.
- Freezing: Peel and freeze ginger for long-term use.
- Drying: Dehydrate and grind for homemade ginger powder.
- Troubleshooting Common Indoor Ginger Planting Issues
Troubleshooting Common Indoor Ginger Planting Issues
Yellowing Leaves
- Cause: Overwatering or lack of nutrients.
- Solution: Adjust watering habits and feed with organic fertilizer.
Moldy Soil
- Cause: Poor drainage and excessive moisture.
- Solution: Improve drainage by using well-aerated soil and adjust watering to prevent excess moisture buildup.
Slow Growth
- Cause: Insufficient light or cold temperatures.
- Solution: Move the plant to a warmer, brighter location.
Conclusion: Enjoy the Rewards of Indoor Ginger Planting
Indoor ginger planting is a simple yet fulfilling way to ensure a fresh supply of this versatile spice throughout the year. By following the right steps—from selecting quality rhizomes to providing optimal growing conditions—you can enjoy a continuous harvest of homegrown ginger. Whether you use it in cooking, teas, or natural remedies, your indoor ginger garden will be a valuable and aromatic addition to your home. Start your indoor ginger planting journey today and reap the rewards of fresh, organic ginger all year round!


